Losing your teeth changes everything—from the way you smile in photos to the foods you can enjoy at dinner. It’s a physical and emotional challenge, but it is not one you have to live with forever. Modern dentistry offers a permanent solution that looks and functions like natural teeth: full mouth dental implants.
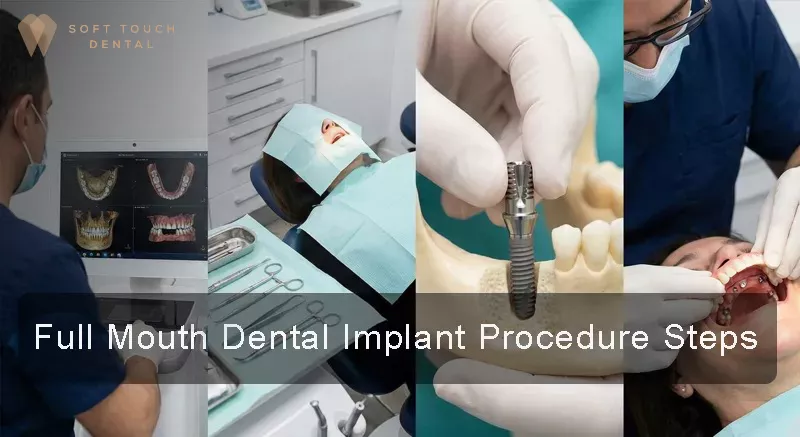
However, the idea of a complete restoration can feel overwhelming if you don’t know what to expect. To help you feel confident in your journey to a new smile, we have broken down the full mouth dental implant procedure steps into a clear, manageable guide.
Step 1: Pre-Surgical Preparation and Diagnostics
Success begins long before the surgery day. The first and most critical step is a comprehensive evaluation to ensure your mouth is ready for the procedure.
Advanced Imaging and Planning
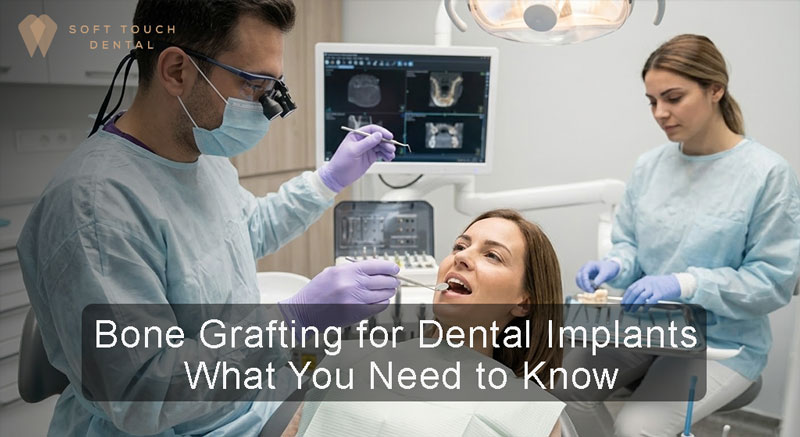
We start with 3D imaging and CT scans to evaluate the density and health of your jawbone. This technology allows us to see nerves and sinus cavities clearly, ensuring safe and precise placement. For patients seeking a full mouth dental implant San Diego, this meticulous planning phase is what differentiates a standard result from a truly long-lasting restoration.
Creating a Clean Foundation
To prevent infection, the mouth must be free of bacteria. You may be prescribed antibiotics like amoxicillin or clindamycin prior to surgery. Additionally, if your jawbone has shrunk due to long-term tooth loss, we may perform bone grafting or Guided Bone Regeneration (GBR) to build a solid base for the implants.
Step 2: Surgical Placement of Implants
Once the foundation is set, we move to the placement phase. This is the “heart” of the process, where the artificial roots are inserted.
Comfort and Anesthesia
Patient comfort is our priority. We use local anesthetics like lidocaine or articaine to completely numb the area. In many cases, we also utilize sedation to ensure you remain relaxed and comfortable throughout the surgery.
Extraction and Insertion
If you have any remaining damaged teeth, they are carefully extracted to clear the way. Then, the surgeon gently lifts the gum tissue to access the bone. Using precision drills kept cool with water to protect the bone cells, we create a space for the implant.
Choosing the Right Material
The implant itself is a small screw, typically made of titanium or a titanium alloy, which acts as a new tooth root. Depending on your bone density and specific needs, your surgeon will select the appropriate type of dental implant—such as standard endosteal implants or, in cases of severe upper jaw bone loss, zygomatic implants that anchor into the cheekbone.
Step 3: Healing and Osseointegration
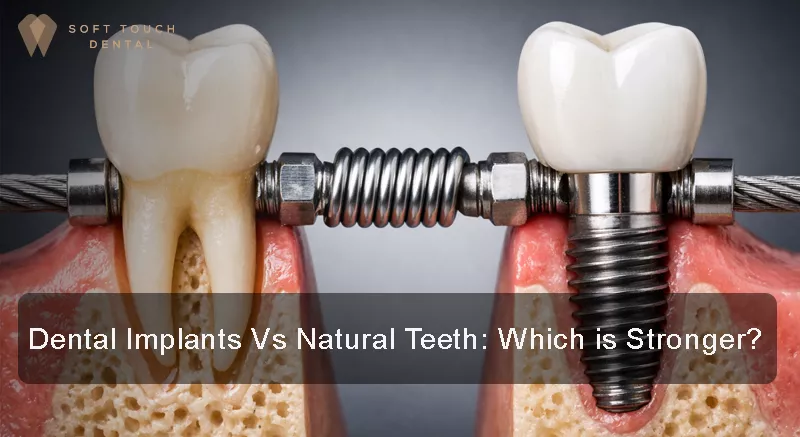
Once the implants are placed, the most important biological process begins: osseointegration. This is where your jawbone actually grows around the titanium post, fusing with it to create a bond as strong as a natural tooth root.
The Timeline for Success
Healing doesn’t happen overnight. Generally, implants in the lower jaw require 3 to 4 months to fully integrate, while the upper jaw—which has softer bone—may take 4 to 6 months. During this time, your dentist may place “healing caps” on the implants to shape the gum tissue correctly, ensuring your future teeth emerge naturally.
Avoiding Complications
While the success rate is high, this phase requires care. Factors like smoking, uncontrolled diabetes, or poor oral hygiene are known causes of implant rejection. These issues can interfere with the bone’s ability to lock the implant in place, leading to instability or infection. Following your surgeon’s post-op instructions is non-negotiable for a lasting result.
Step 4: The Prosthetic Phase – Your New Teeth
After the bone has successfully fused with the implants, we verify stability using X-rays. Once confirmed, we move to the restorative phase—the moment you have been waiting for.
Impressions and Custom Design
To create a smile that feels like your own, we take precise impressions of your mouth. This can be done using traditional molds or modern digital scanners that create a 3D map of your gums and implants. These models are sent to a lab where skilled technicians craft your final prosthesis from durable materials like zirconia or porcelain.
Immediate vs. Delayed Loading
In some modern procedures, known as “Same-Day Implants,” a temporary set of functional teeth can be attached immediately after surgery. This allows you to leave the clinic with a smile on day one, avoiding the need for removable dentures during the healing period.
Securing the Smile
Your final full-arch prosthesis is typically attached in one of two ways:
- Screw-Retained: The teeth are screwed into the implants. This is often preferred because it allows the dentist to easily remove them for maintenance or cleaning if needed.
- Cemented: The teeth are glued onto the abutments for a seamless look, though this makes them harder to remove
When planning your restoration, the strategy for placing the implants is just as important as the surgery itself. Endosteal implants are the most common type used for full mouth treatment. However, depending on your bone density, your surgeon may recommend specific configurations.
Optimizing for Bone Density
If you have sufficient jawbone, standard placement is ideal. However, if you have lost bone density, you may still be a candidate for the All-on-4 method. This technique angles the implants to maximize contact with the remaining bone, often eliminating the need for grafting.
Difference between All-on-4 and All-on-6
A frequent topic of discussion during this planning phase is the Difference between all on 4 and all on 6 teeth. Essentially, this refers to the number of implants used to support the arch—four versus six. While four is often sufficient for stability, six may offer additional support and load distribution, depending on the individual’s anatomical needs.
Step 5: Maintenance and Follow-Up
The final phase of the full mouth dental implant procedure steps is a lifelong commitment to maintenance. Just because implants cannot get cavities does not mean they are maintenance-free.
Daily Hygiene Routine
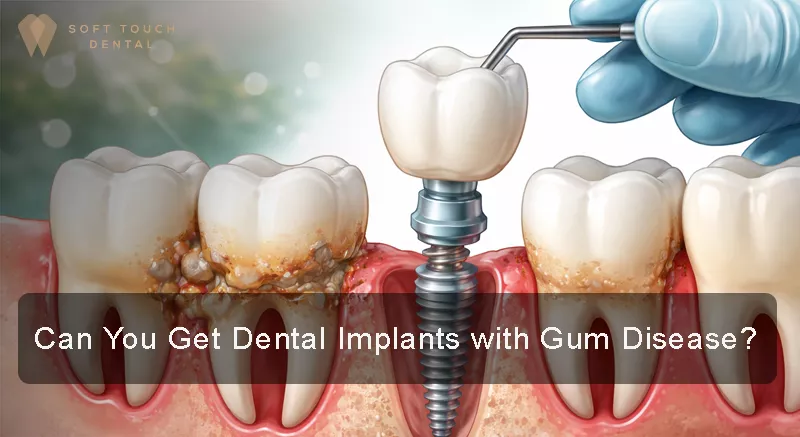
To ensure your implants stay strong, you must brush them every day and eat healthy foods. Bacteria can still accumulate on the prosthesis and gum line. If not cleaned properly, the gums around the implants can get infected, leading to swelling or even bone loss.
Professional Care
You must consistently visit the dentist for check-ups. During these visits, we take diagnostic pictures and measure gum depth to ensure there is no bleeding or signs of infection. Your dentist may also use special tools designed to clean around the implants without scratching the surface.
Why Expertise Matters
The success of a full mouth restoration relies heavily on the skill of the provider and their attention to detail during the planning and healing phases. Choosing a dental clinic that focuses on taking care of its patients every step of the way is critical.
At Soft Touch Dental, we ensure every patient is treated with precision to get the best results possible. From the initial 3D scan to the final placement of your custom teeth, our goal is to restore not just your smile, but your quality of life.
Conclusion
The journey to a full mouth restoration involves careful preparation, surgical precision, and dedicated healing time. By understanding these full mouth dental implant procedure steps, you can approach the process with confidence, knowing that a permanent, natural-looking smile is the final destination.
If you are ready to stop worrying about your teeth and start enjoying your life again, we invite you to schedule a consultation to discuss your options.